Advanced Filters in Schedule
Advanced Filters help you quickly find and display specific schedule data. By refining your view, you can focus on relevant shifts and improve scheduling efficiency.
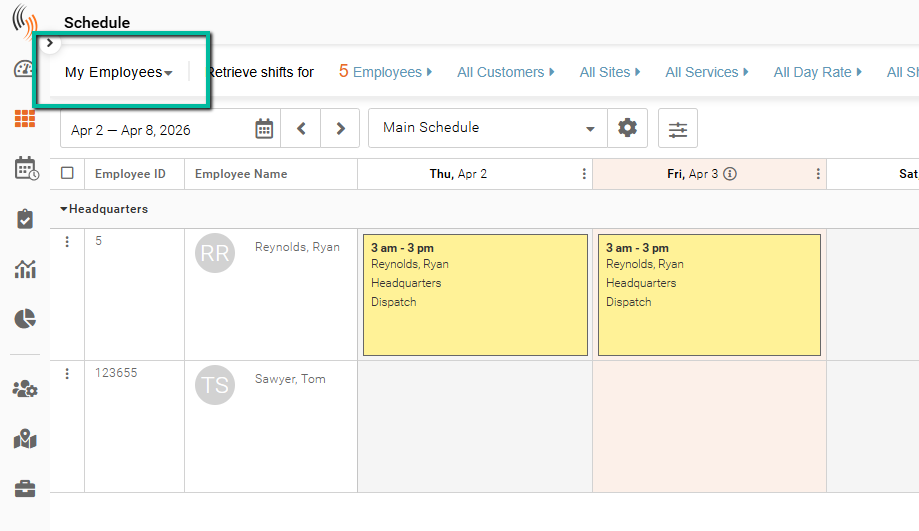
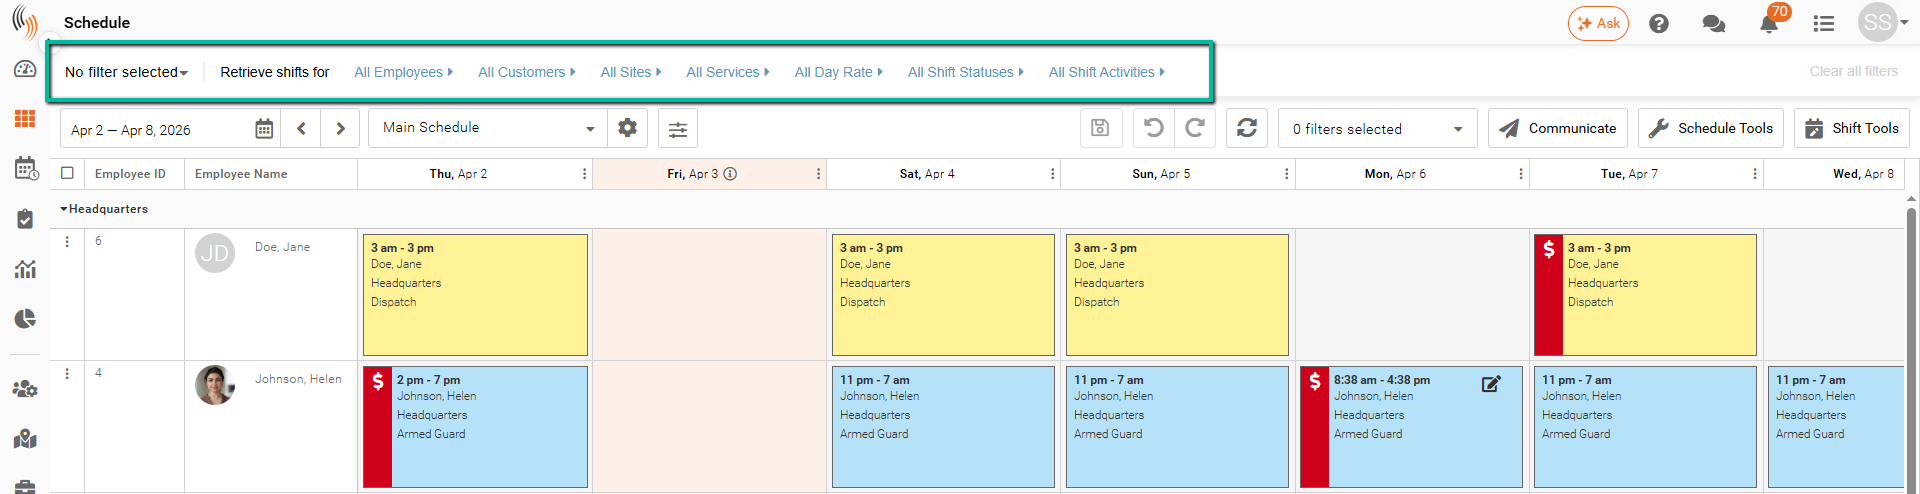
Find Advanced Filters
Advanced Filters are located at the top of the Schedule page.
You can filter by:
- All Employees
- All Customers
- All Sites
- All Services
- All Ref 1 (Shift Reference 1)
- All Shift Statuses
- All Shift Activities
Define and Search Filters
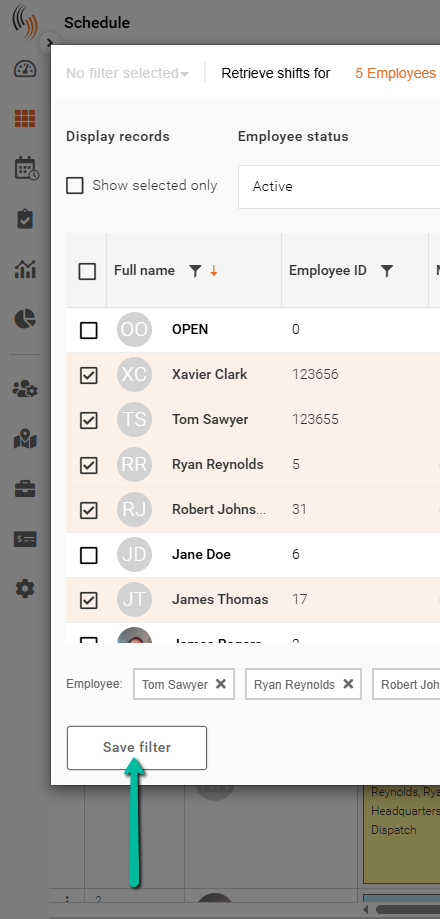
Select criteria within each filter to display only the data you need. Use the dropdown menus in All Employees, All Customers, All Sites, and All Services to search and select specific records.
You can also use column filter icons to refine results directly within the Schedule. Shift statuses and activities include predefined options, while Reference 1 is only available if configured.
Note: You can combine multiple filters to narrow results (for example, filtering by both employee and site).
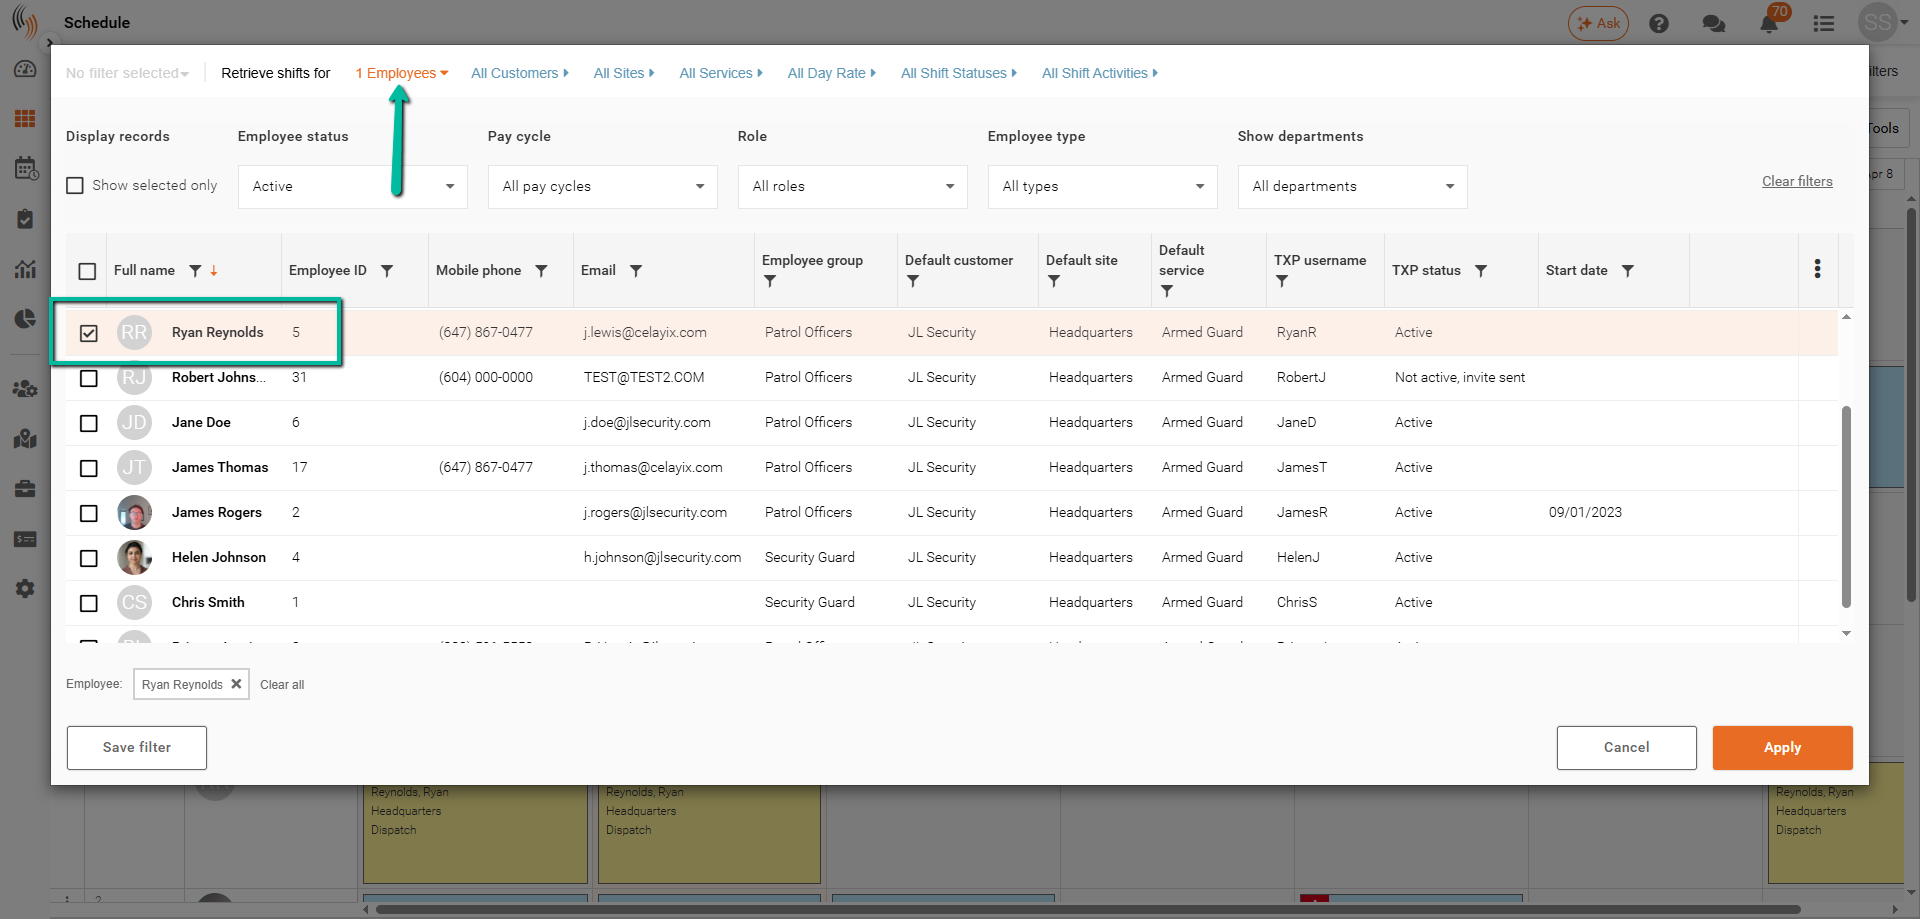
Apply Filters
After selecting your criteria, click Apply to update the Schedule. Only shifts matching your selections will be displayed.

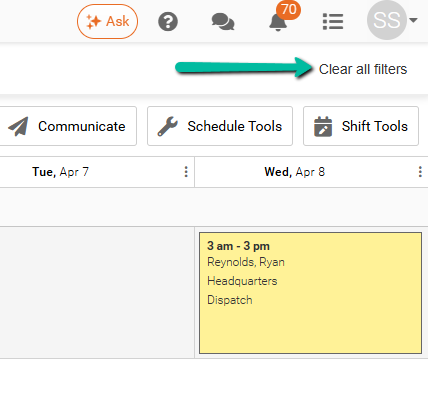
Here is an example displayed after searching for a specific employee.
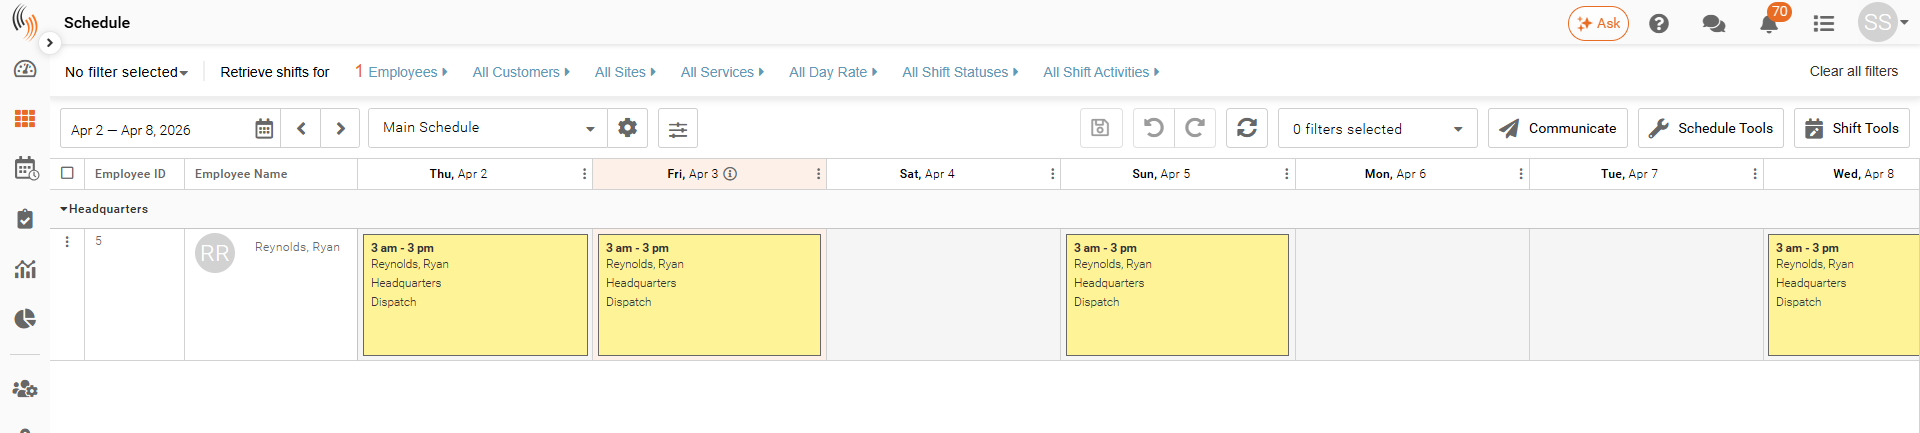
Clear Filters
To remove all filters and return to the full Schedule, click Clear All Filters in the top-right corner.
Save a Filter
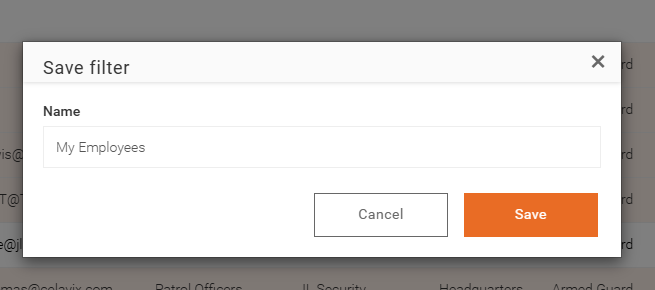
To save your filter for future use, click Save Filter.
Enter a Name, and Save. Saved filters allow you to quickly reuse commonly used views.
Use a Saved Filter
Saved filters appear in the filter dropdown at the top-left of the Schedule.
Select a saved filter to instantly apply it and display the corresponding results.