Make a Site Inactive
Setting a site to Inactive prevents it from being used for future scheduling while preserving all historical data and records. This is useful when a site is no longer operational, temporarily unavailable, or should no longer appear in scheduling workflows.
Unlike deleting a site, setting it to Inactive maintains data integrity and allows the site to be reactivated at any time.
Set a Site to Inactive
Setting a site to Inactive removes it from the schedule and prevents it from being selected when creating new shifts.
To deactivate a site:
- Open the site you want to deactivate.
- Click Edit Site.
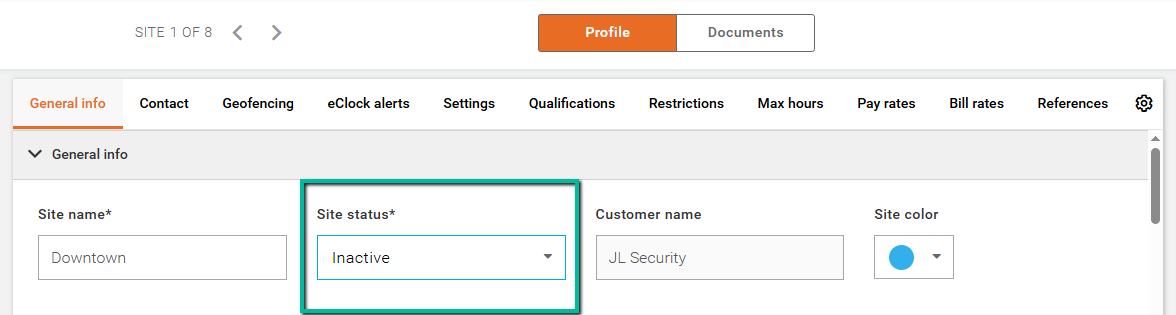
- In the General Info section, change the Site Status to Inactive.
- Click Save.
All historical shifts and site records will remain available for reporting and reference purposes.
Set Multiple Sites to Inactive
You can also update multiple sites at the same time.
To deactivate multiple sites:
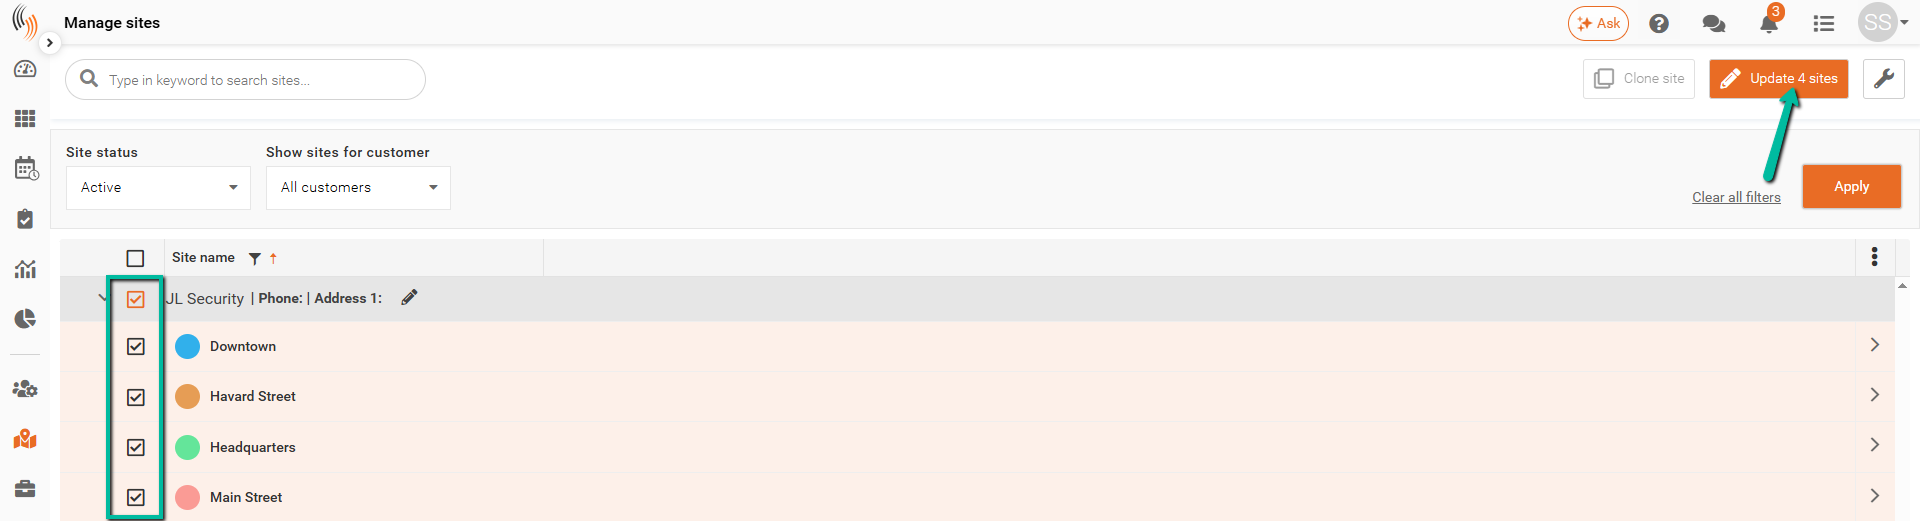
- Select the sites from the site list.
- Click Update # Sites in the top-right corner.
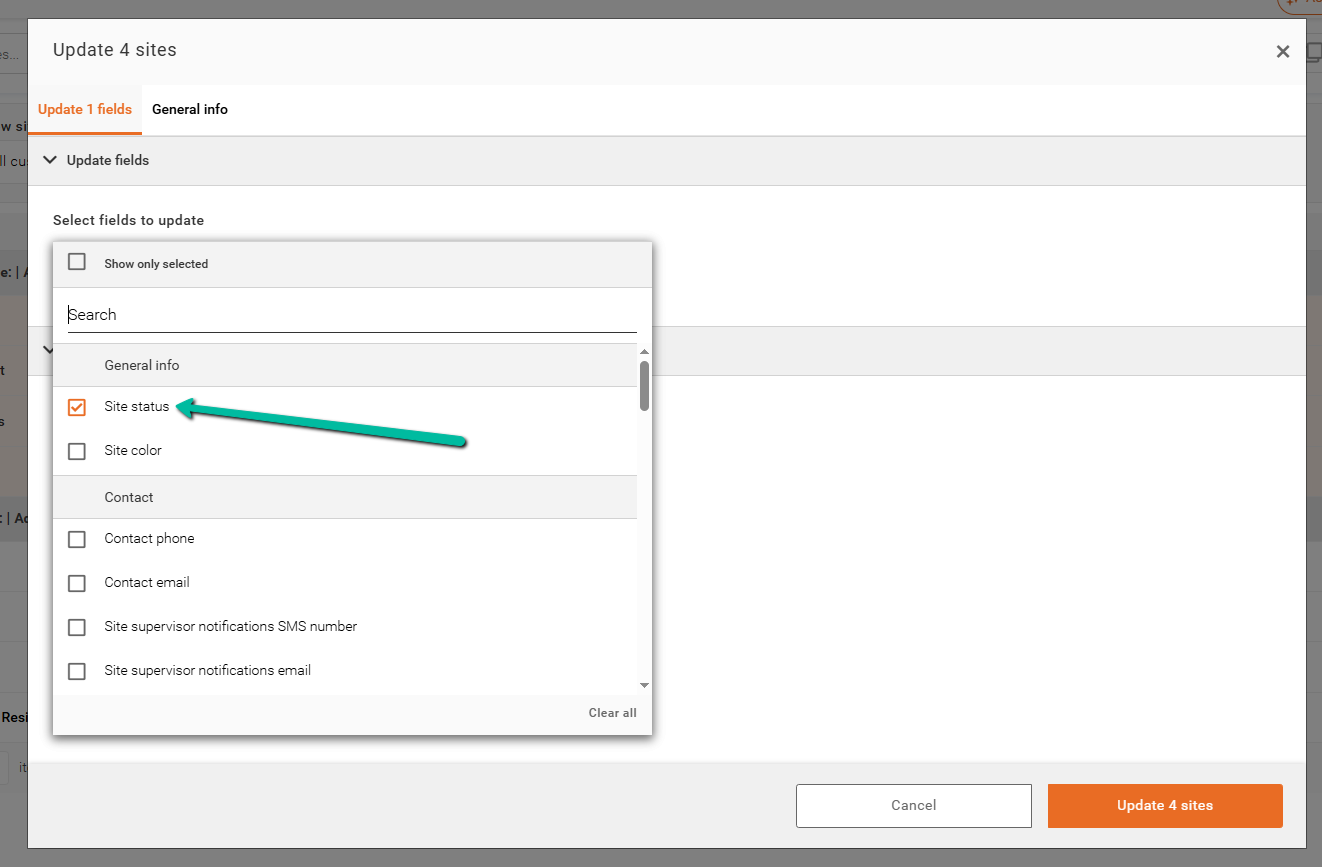
- Select Status from the Select Fields to Update dropdown.
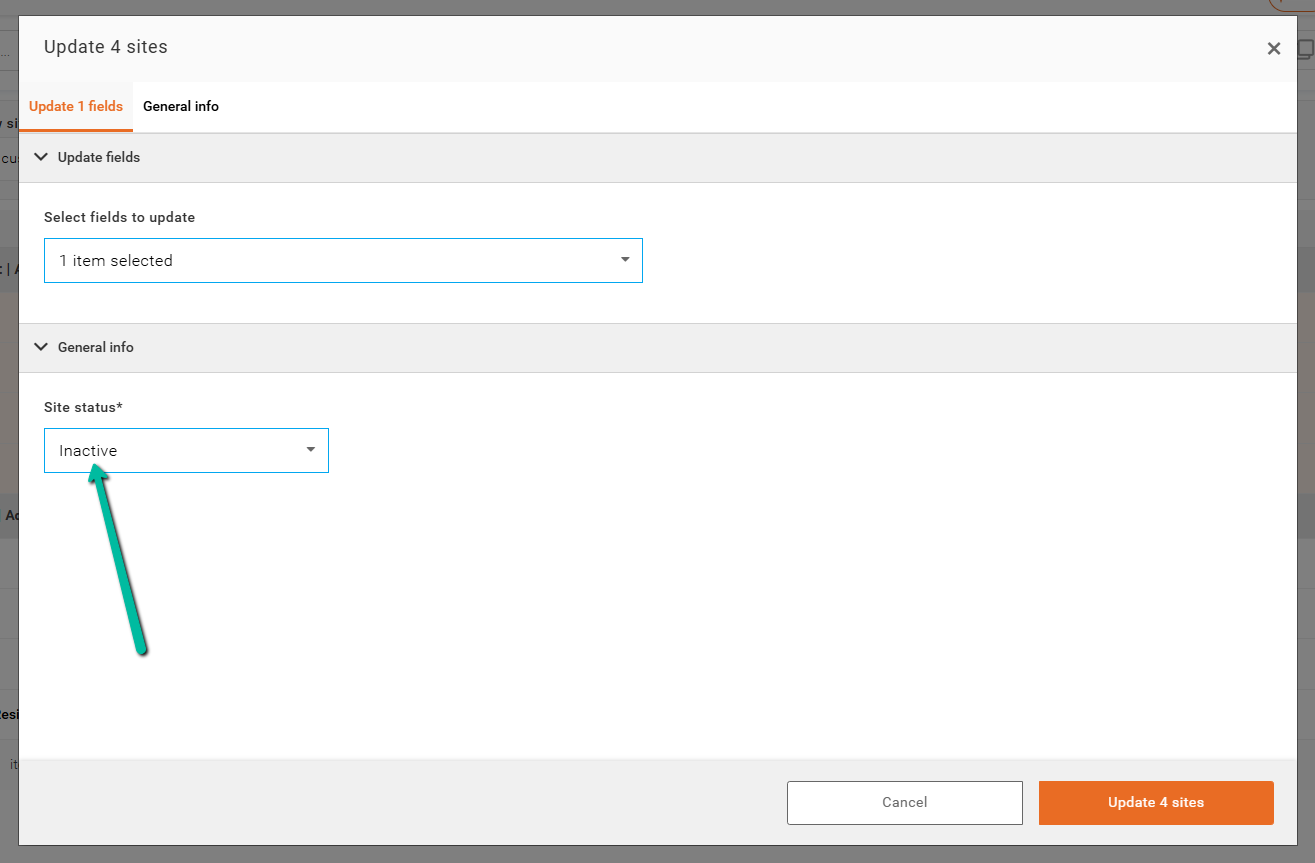
- Choose Inactive as the Status.
- Click Update Sites.
The selected sites will be updated and removed from future scheduling activities.
Step 1 and 2:
Step 3:
Step 4 and 5: