Add Sites
Adding sites allows you to expand your network and manage new locations. This article shows you how to create and configure sites for use in scheduling and operations.
The Manage Sites feature in Schedule Xpress allows admins to quickly create and manage sites. By requiring only essential information, it simplifies the setup process and makes it easy to add multiple sites as needed.
Add Sites
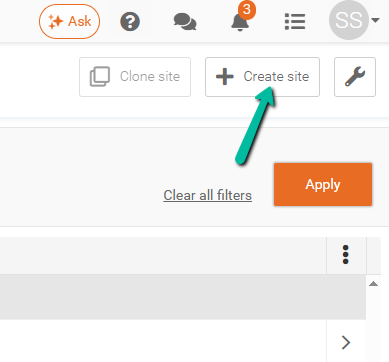
To add a new site, click the Create Site button located in the top-right corner of Manage Sites, next to the Tools (Wrench) icon.
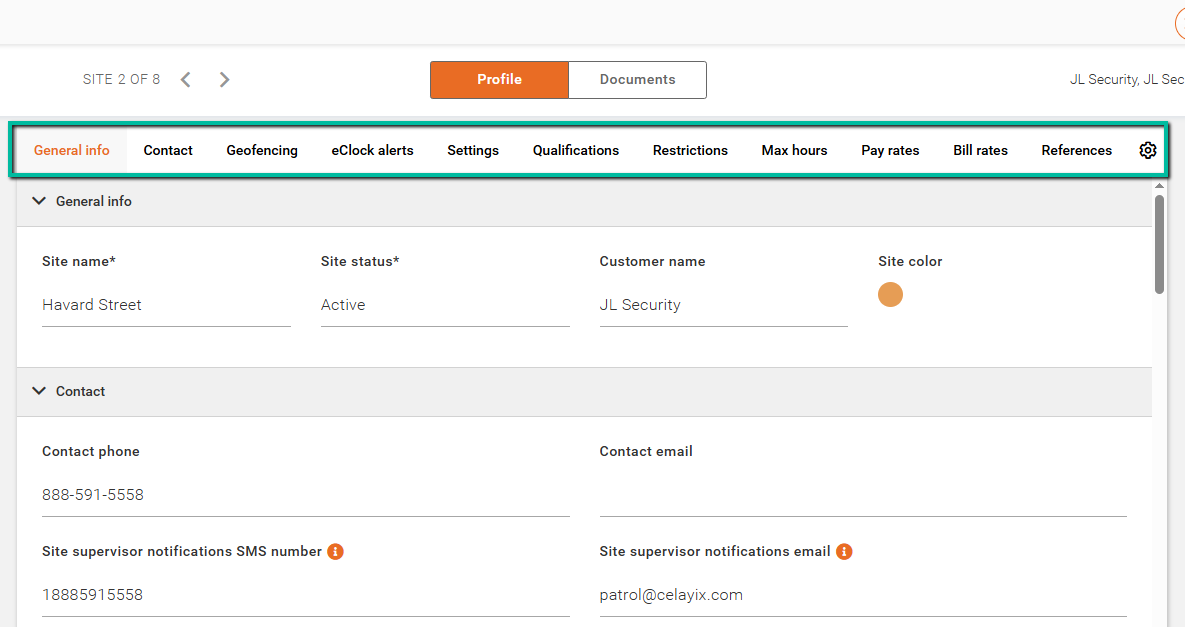
When creating a site, you can configure the following sections:
- General Info – Enter required site details, including the Site Name, Site Status, and Customer. You can also assign an optional site color for easier identification.
- Contact – Add site contact information, including email addresses, phone numbers, and physical addresses.
- Geofencing – Configure GPS coordinates to enable location-based verification when employees check in or check out.
- eClock Alerts – Apply site-specific alert settings, if enabled within your system configuration.
- Settings – Assign Record Access Groups, configure Daylight Savings and Statutory Days, and enable optional features such as Facial Recognition.
- Qualifications – Define required qualifications to ensure only eligible employees can be scheduled at the site.
- Restrictions – Restrict specific employees from working at the site based on preferences or access limitations.
- Max Hours – Configure daily, weekly, and monthly hour limits for the site.
- Pay Rates – Configure pay rates associated with the site, if applicable.
- Bill Rates – Configure billing rates for services, including standard, overtime, double time, statutory, or custom rates.
- References – Add additional site-related information or documentation references.
You can access each section by scrolling through the form or by selecting the section name from the menu at the top of the page.