Manage Site Documents
Admins can upload and manage site-related documents using the Documents feature in Schedule Xpress. This centralized location makes it easy to store important files and reference materials, which can also be attached to shifts for easy access by employees.
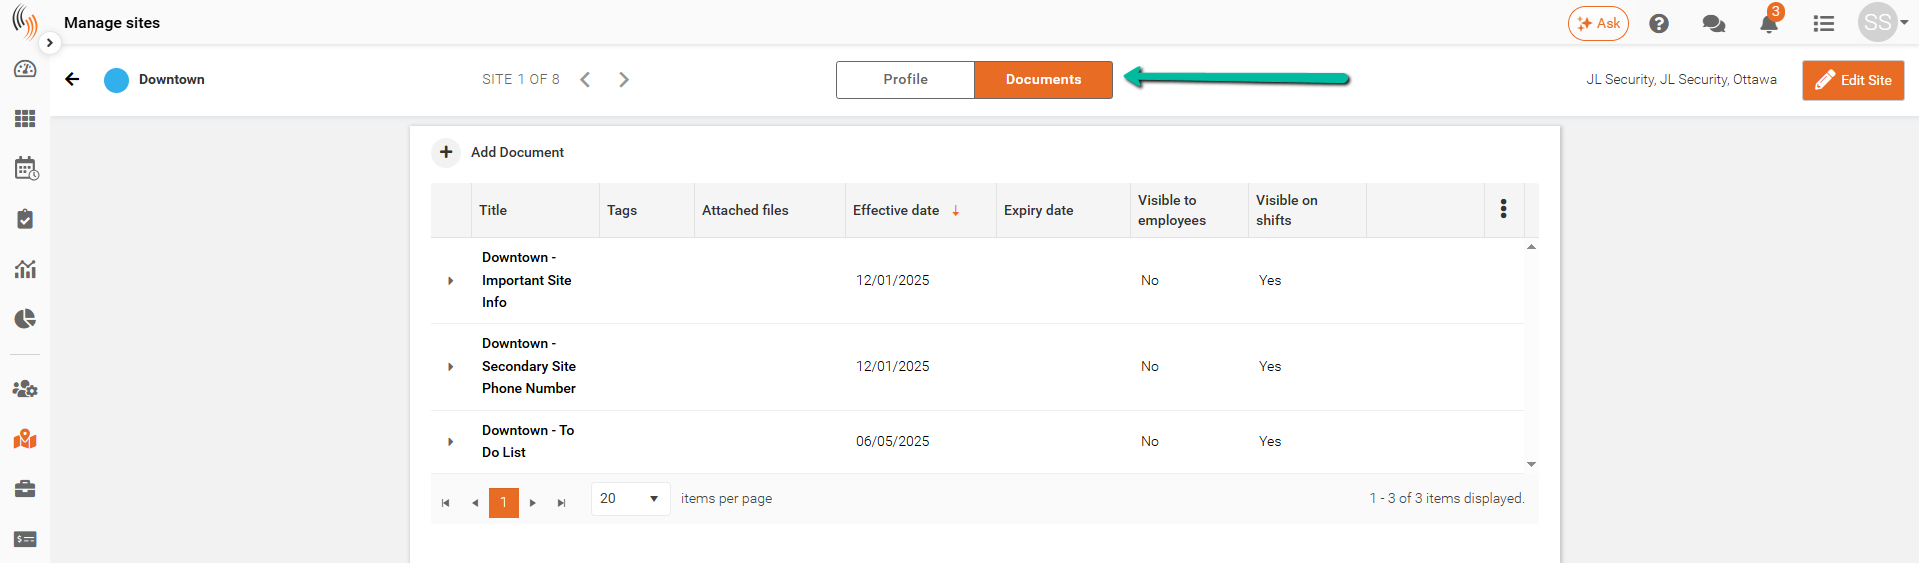
Access Documents
Go to the site profile in Manage Sites, select a site, and click Documents at the top of the screen. From there, you can upload and organize documents, and link them to shifts as needed.
Feature Access for Site Documents
Access levels for viewing Documents can be configured in Manage Sites, enabling you to control which users can utilize this feature. These permissions are managed through the relevant Feature Access Groups within the Manage Sites module.
Note: Only Full admins can adjust Feature Access Groups.

To modify document access permissions, expand the Manage Sites module by clicking the dropdown arrow on the left. Within the expanded menu, navigate to Documents and select the pencil icon to configure the appropriate access level: No Access, View only, or Full access.

Add a Site Document
To create a new document, simply click the Add Document button.

View Site Document Content
Click the dropdown arrow next to a Document to expand it and view its contents.

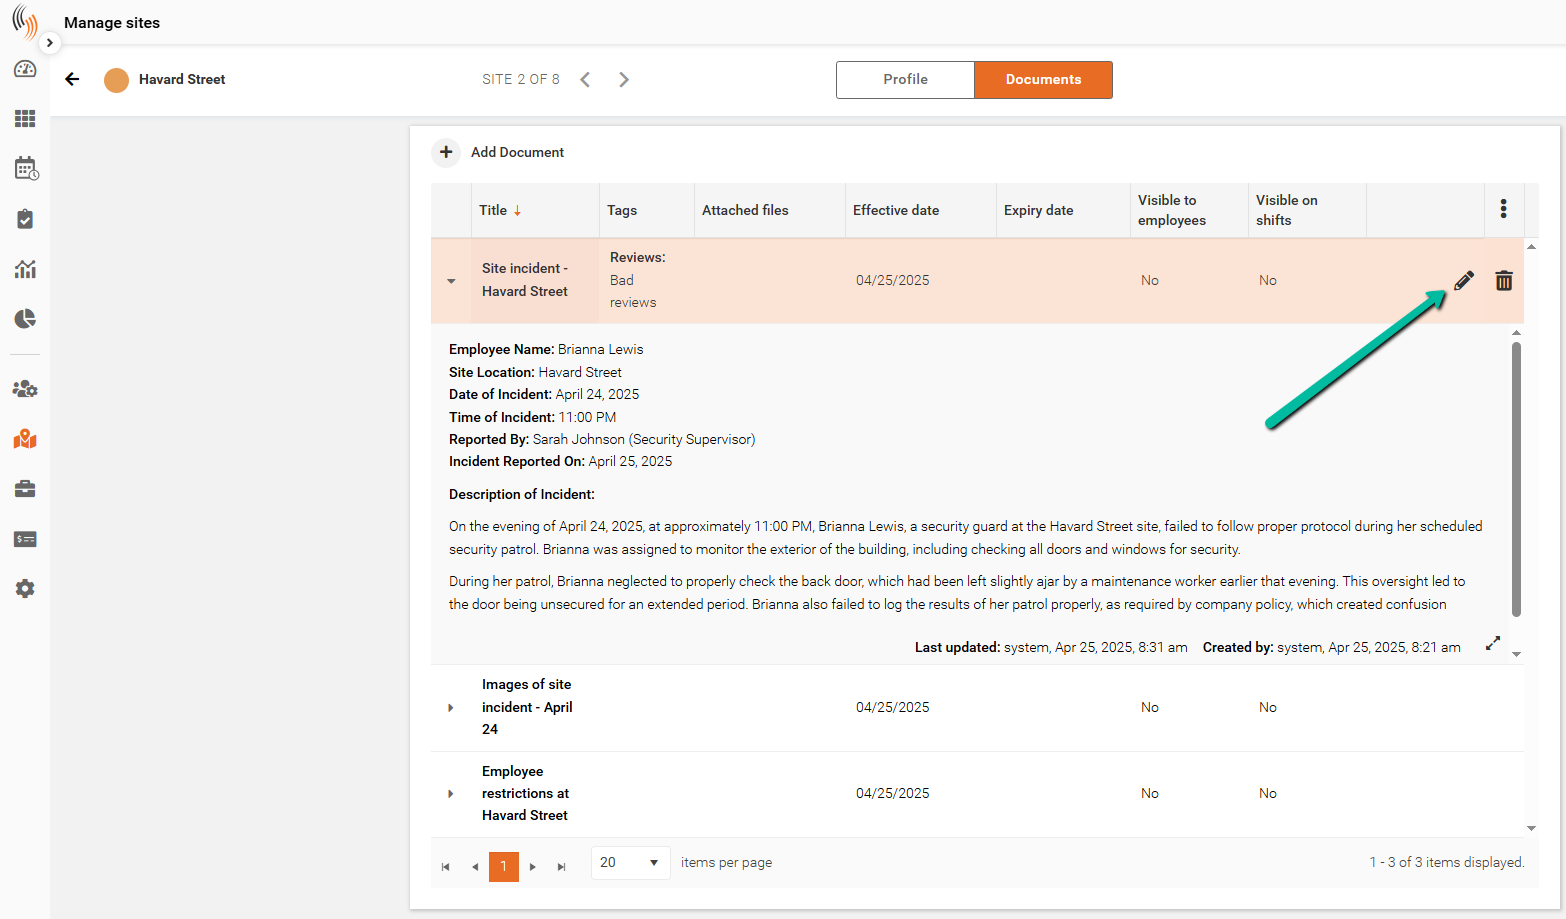
Edit a Site Document
Click the Edit Icon (Pencil) next to a document to make changes. This allows you to update details such as the title, tags, attached files, visibility settings, or any other document information.
Delete a Site Document
Click the Delete Icon (Trash Can) next to a document to remove it. Deleting a Document will permanently remove it from the site, so be sure to confirm before proceeding.
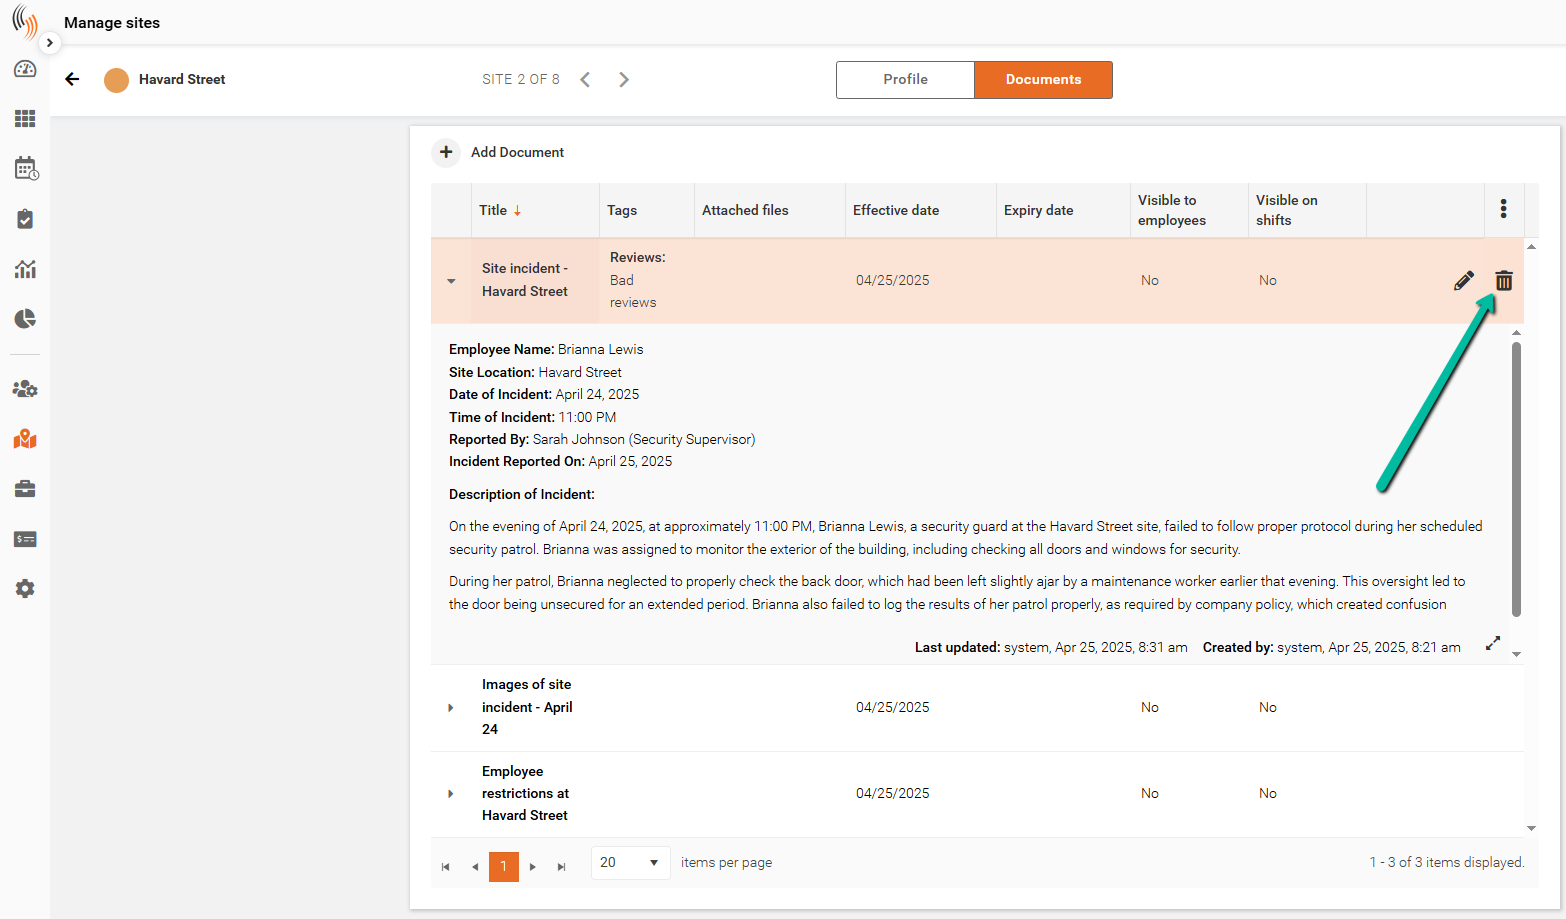
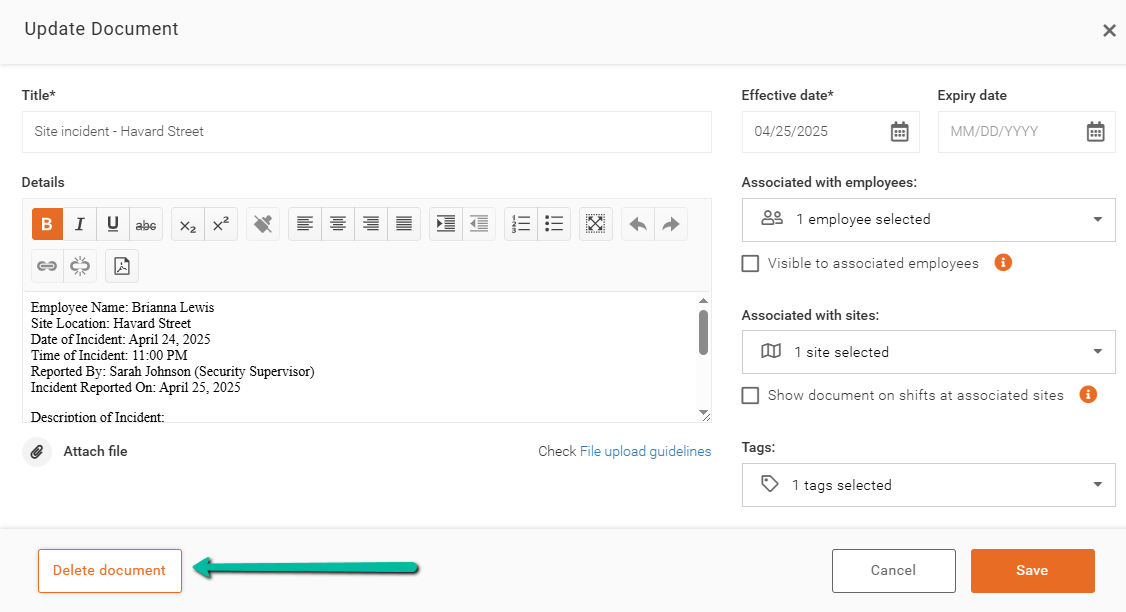
Alternatively, you can delete the Document from within the Document itself by clicking Delete Document.
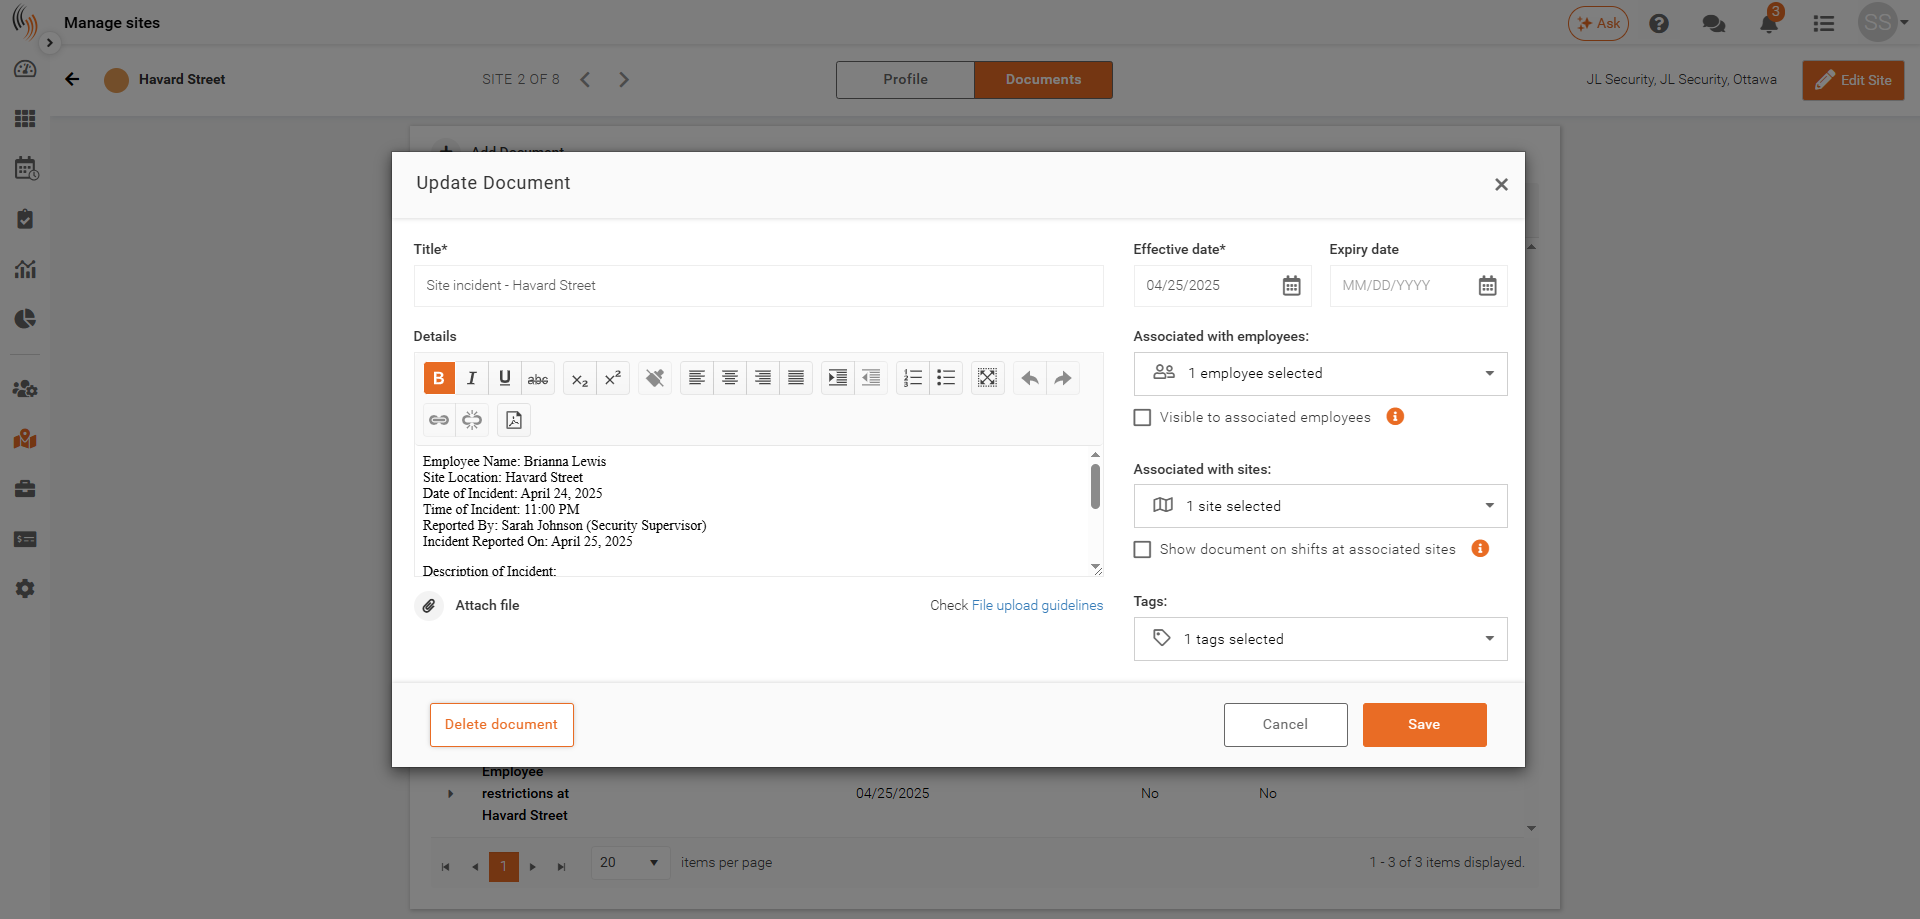
Add Site Document Information
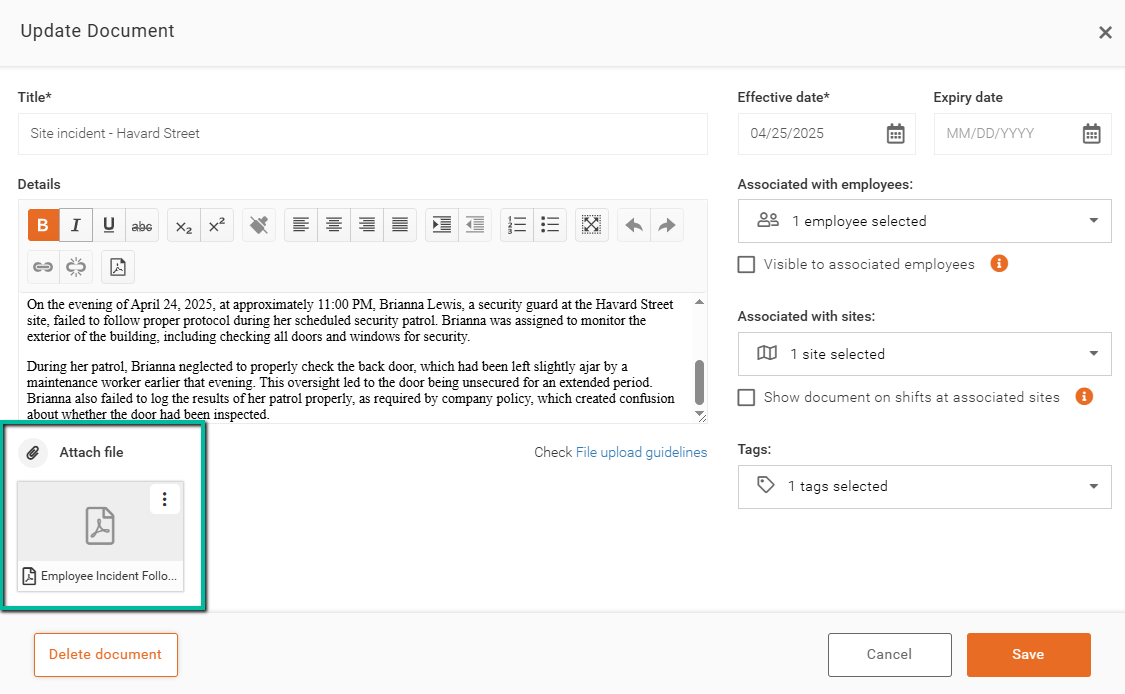
When creating or updating a document, you can configure the following:
- Details – Add or edit the document content in the large text editor under the Details section.
- Effective and Expiry Dates – Set when the document is active using the date fields in the top-right corner.
- Associated Employees – Select employees from the Associated with Employees dropdown.
- Associated Sites – Assign the document to sites using the Associated with Sites dropdown.
- Visibility Settings – Use the checkboxes to control whether the document is visible to employees within shifts.
- Tags – Apply tags using the Tags dropdown to help organize and locate documents more easily.
- Attach File – Upload supporting files using the Attach File option below the Details section.
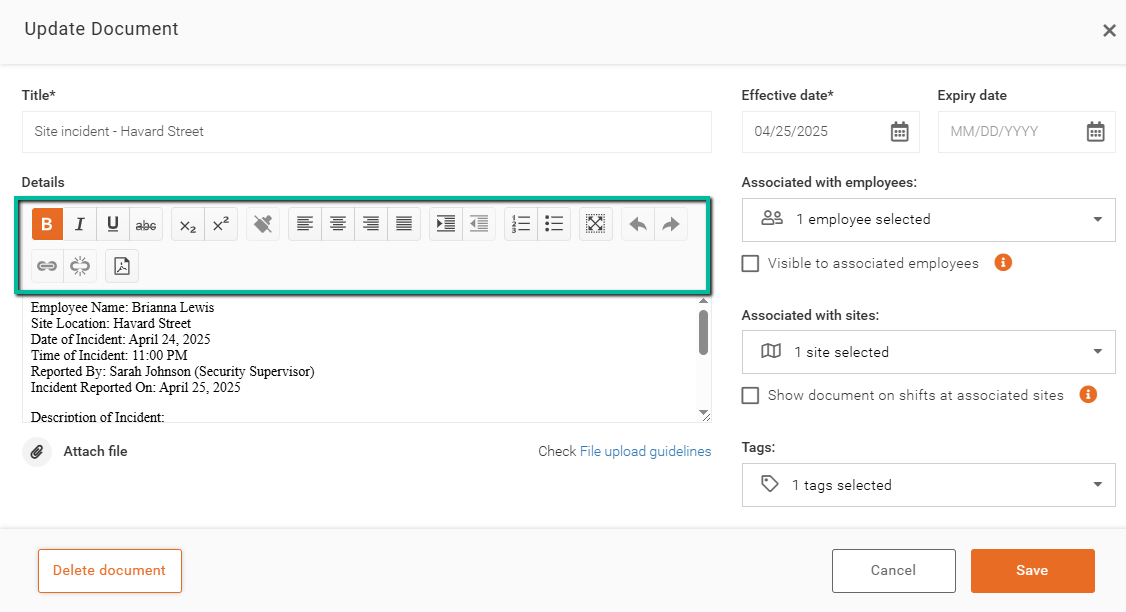
Format a Site Document
Enter your Document Details and use the available formatting tools in the editor to customize the content as needed.
Add Hyperlink to Site Document
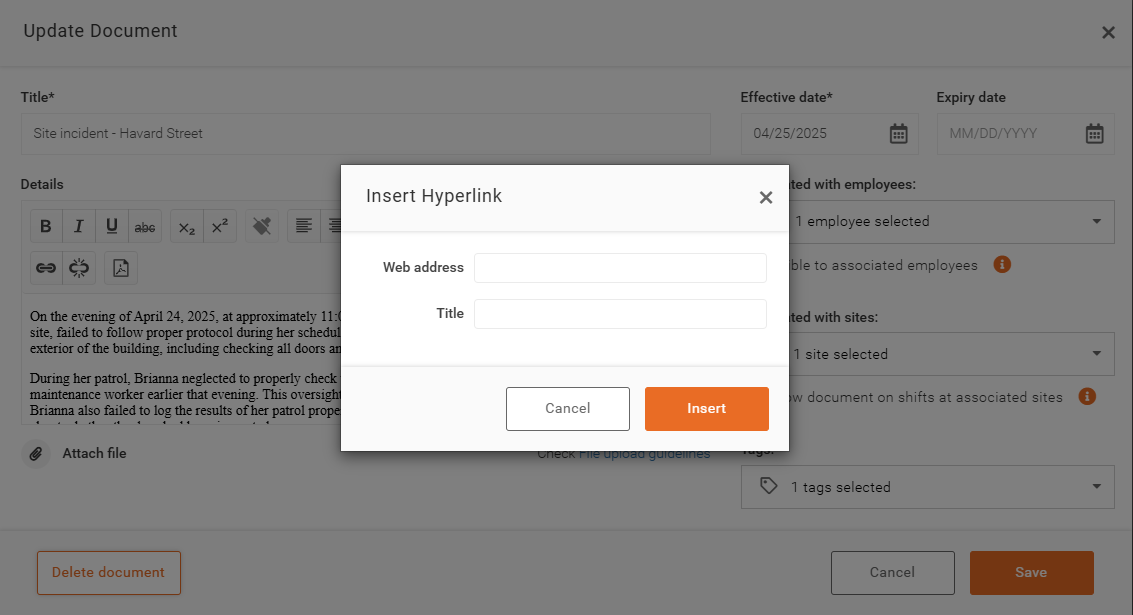
To add a Hyperlink, highlight the desired text and click the Hyperlink button.
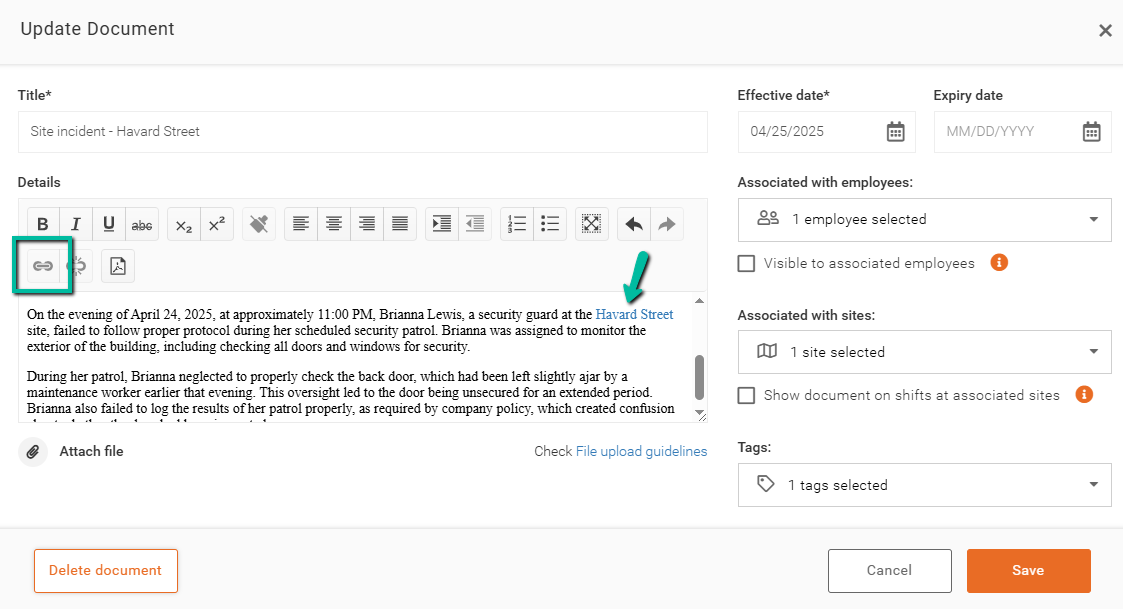
Enter the Web Address and Title to create the Hyperlink.
Click Insert to complete.
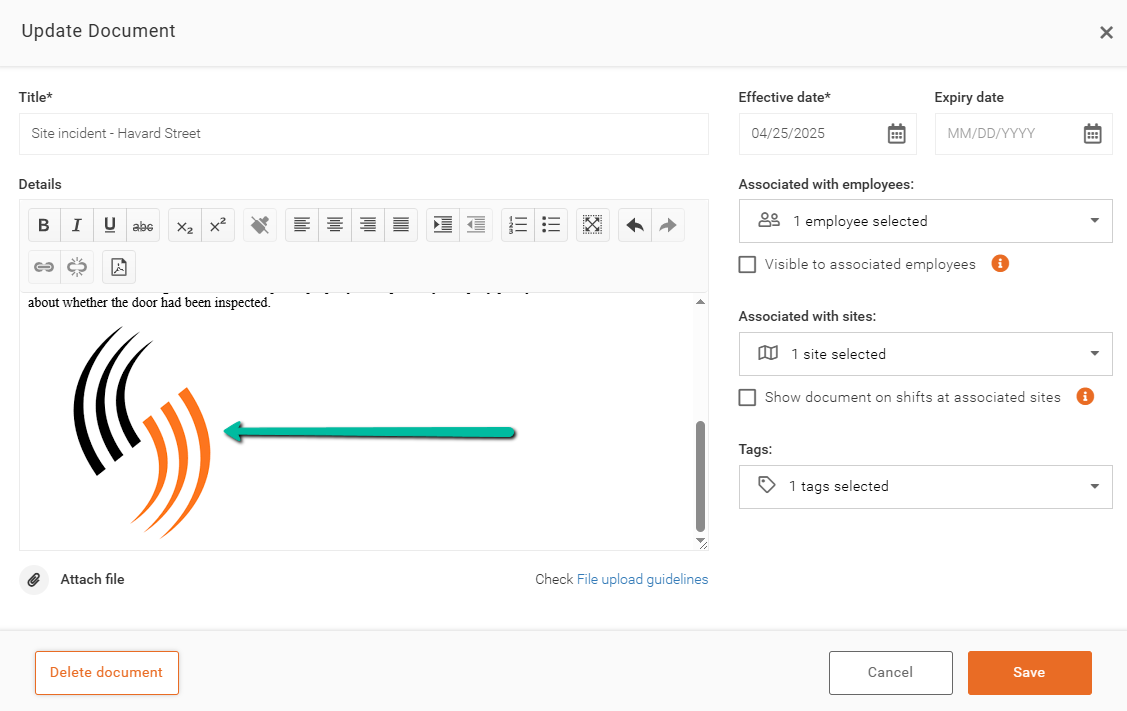
Add Image to Site Document Details
To add an image to the Details section, right-click the desired image and select Copy, then right-click in the Details editor and select Paste.
Show Document on Shifts at Associated Site
To display a document during employee shifts in the Team Xpress app, enable the Show Document on Shifts at Associated Site option in the site-level Document settings.

To associate a Document with multiple sites, click the Associated with Sites dropdown menu and select all relevant sites where you want the Document to appear.

Employee View of Site Documents
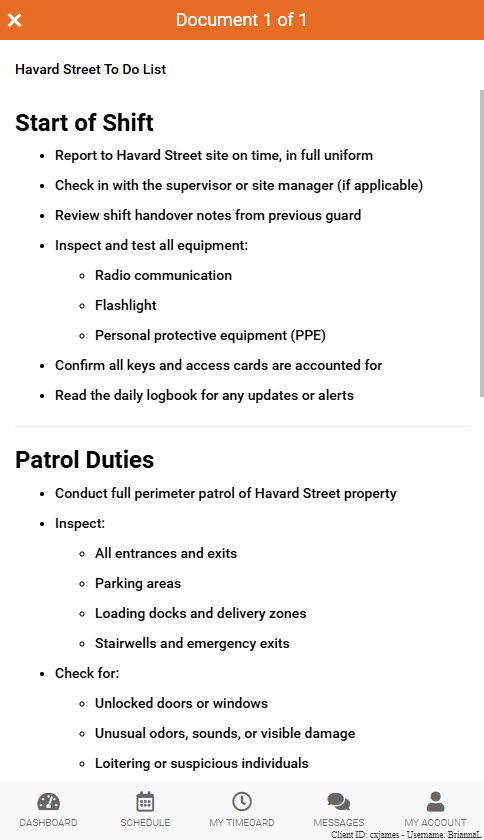
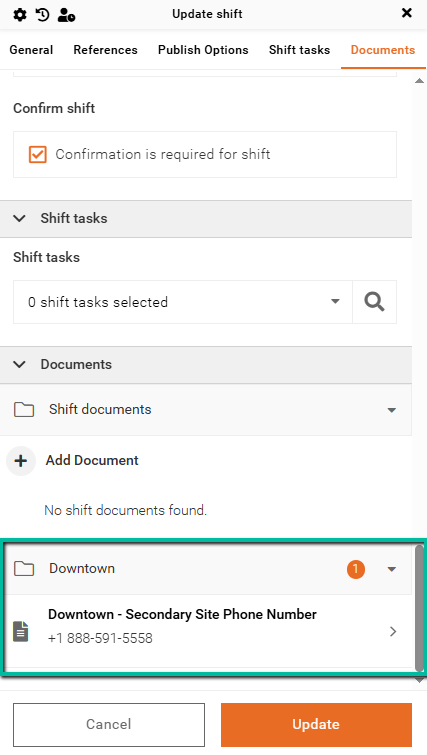
Employees can conveniently access all relevant site documents directly through the Team Xpress app once the Show Document on Shifts at Associated Site option is selected. They can simply navigate to their shift details, where documents will be displayed in the dedicated Documents field. They can tap on this field to view all associated files.
Here’s a simple guide on how they can access site documents.
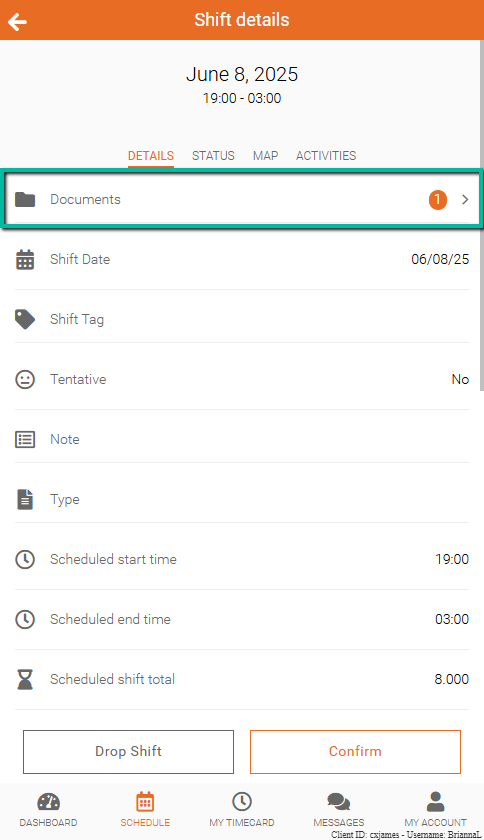
Step 1: Click on the Documents field inside Shift Details.
Step 2: Any associated Documents will be displayed in a list format.
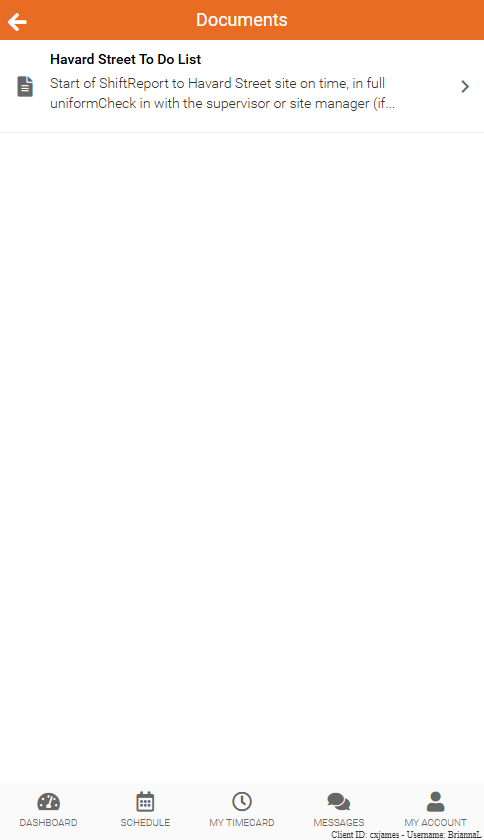
Step 3: Click on a Document to view all its details.
Tags for Site Documents
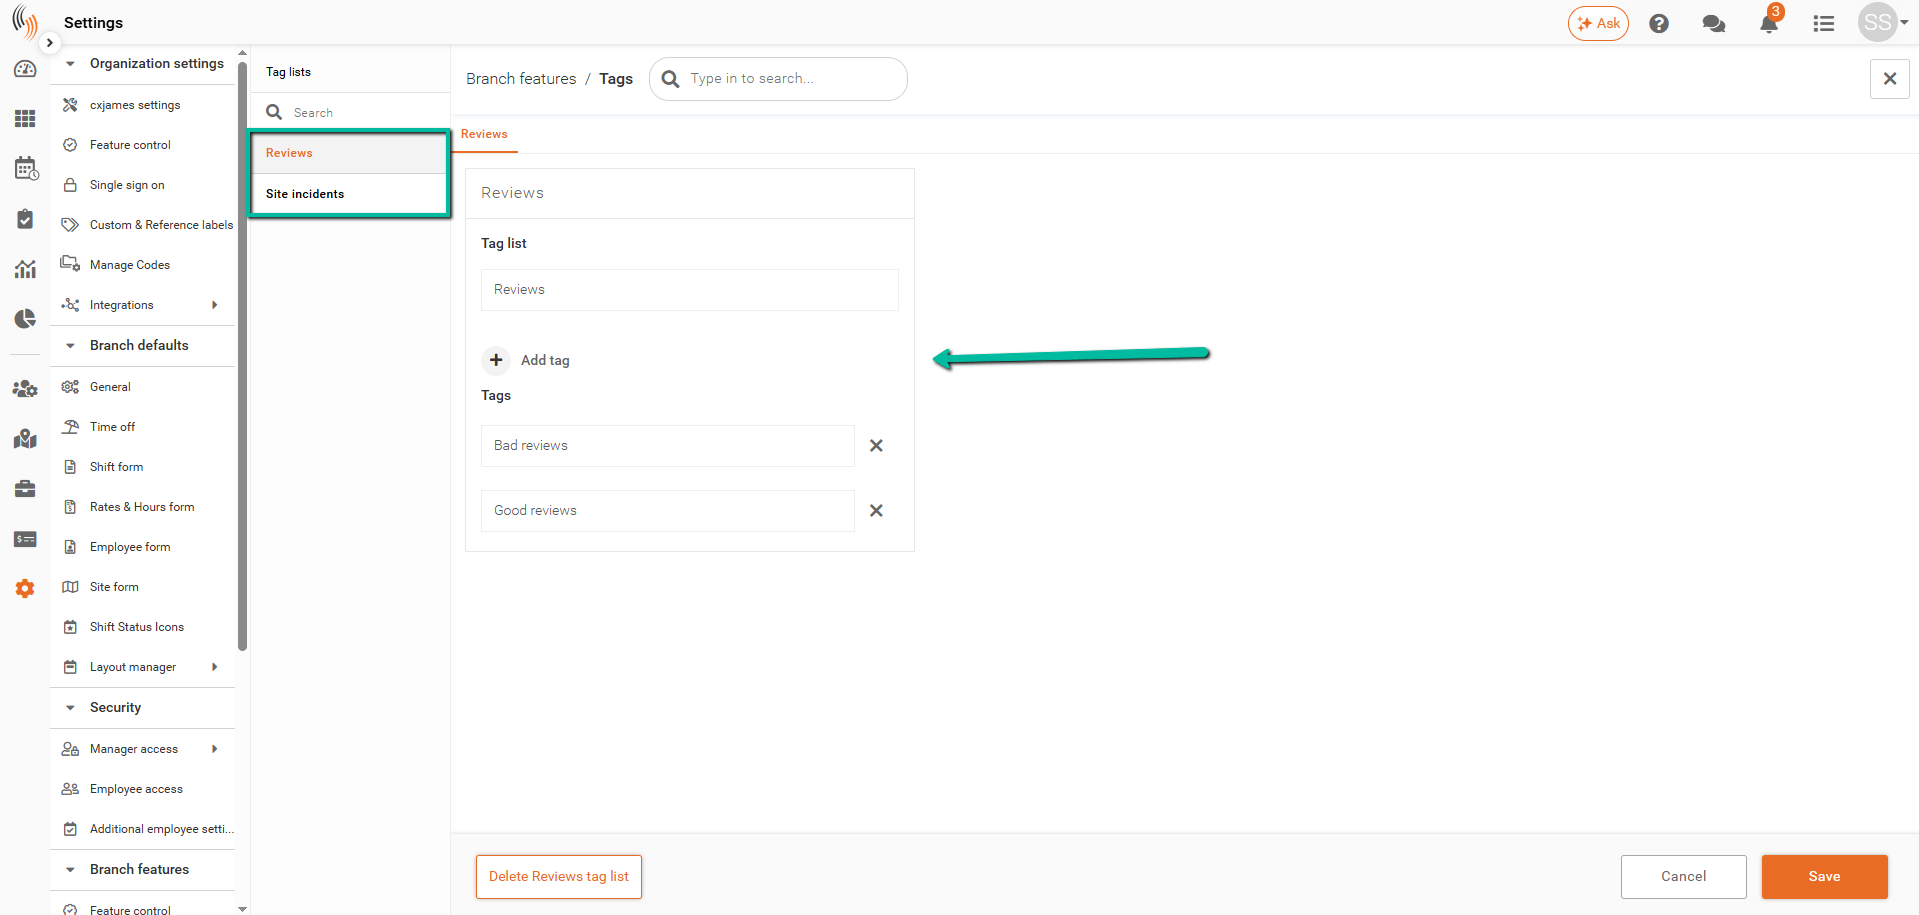
Tags provide a flexible way to categorize your documents. For instance, you can group all site-related incidents under a dedicated Site Incidents tag for easier tracking and retrieval.
To set up Tags, navigate to Settings → Branch Features → Tags.
You can review your Tag Lists and click Add Tag under any list to create a new tag. Click Save in the bottom-right corner to confirm any changes.
Attach File in Site Documents
To add a file to the Document, click the Attach File option.
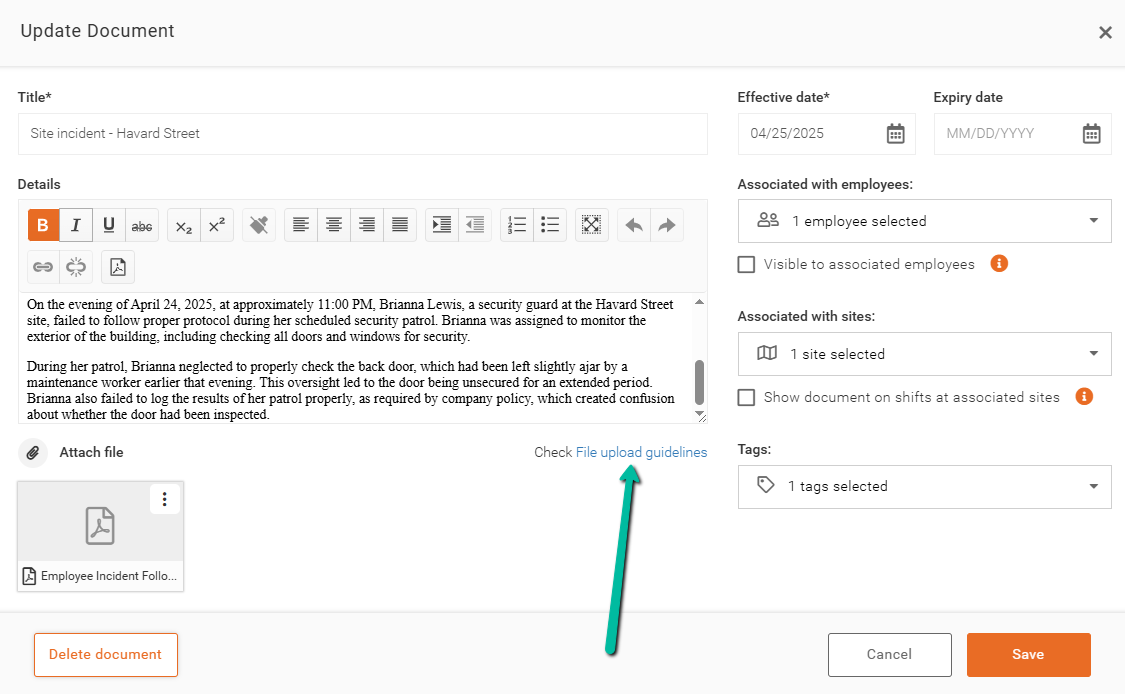
File Upload Guidelines for Site Documents
When using the Attach File option in Documents, ensure your files meet the required criteria by reviewing the File Upload Guidelines.
Select File Upload Guidelines for more details.
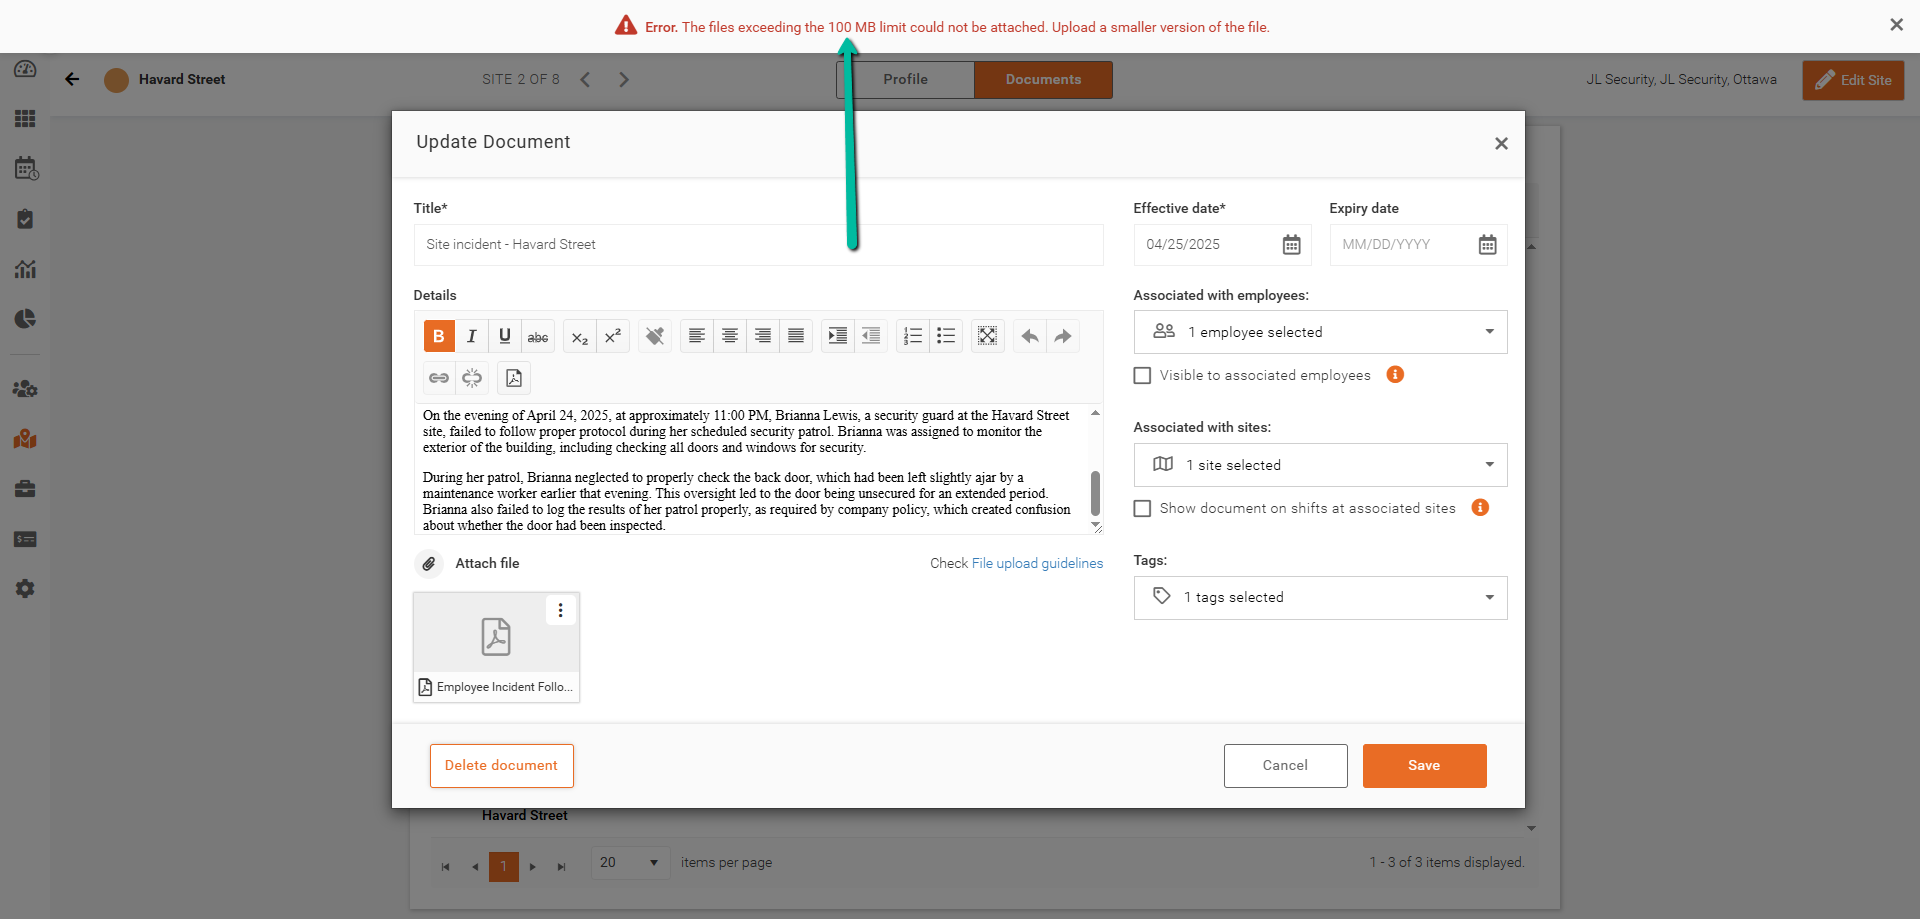
File Size Limit (MB) for Site Documents
The maximum file size for uploads is 100MB. Please compress or reduce your file size before uploading.
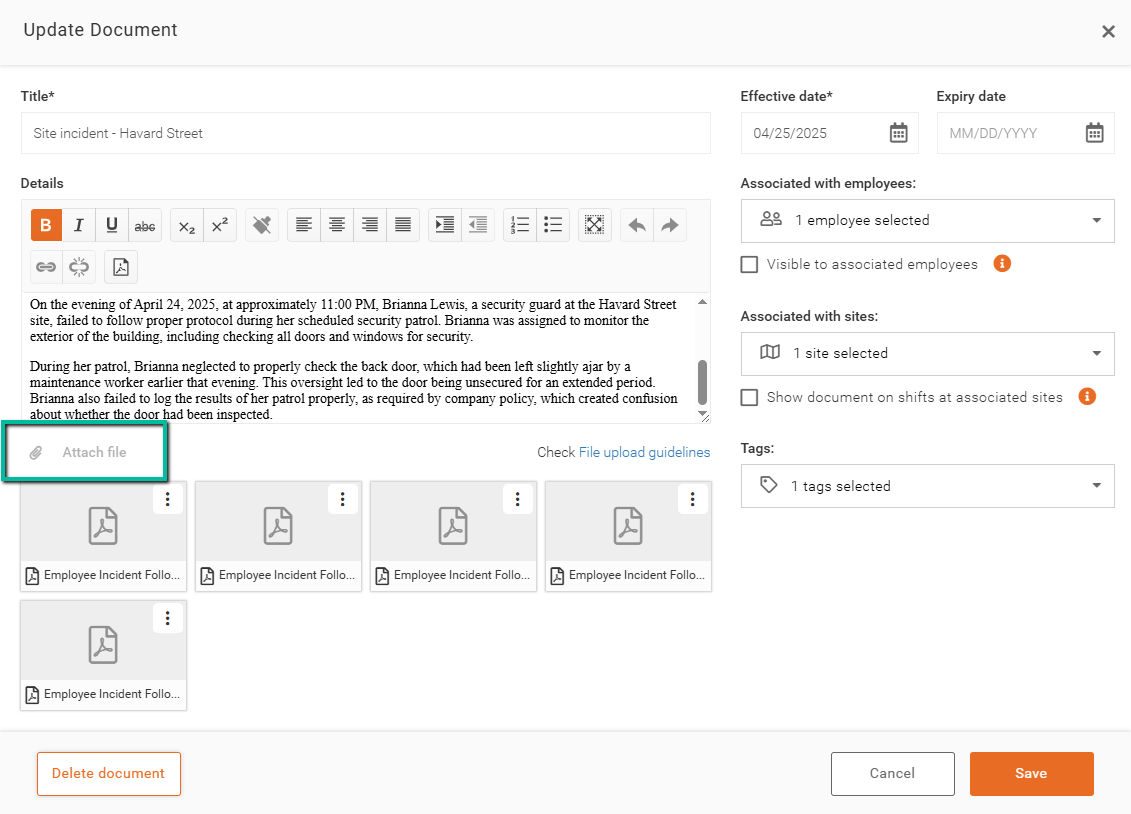
Maximum Number of File Attachments for Site Documents
Documents support a maximum of 5 attachments. Once this limit is reached, the Attach File button will be disabled. To add additional files, please remove an existing attachment by selecting the three-dot menu and choosing Delete.
Supported File Types
To ensure successful file uploads, please verify that your file format is compatible with our system. The following file types are currently supported:
Documents
- PDF (.pdf)
- Microsoft Word (.doc, .docx)
- Rich Text Format (.rtf)
- Plain Text (.txt)
- OpenDocument Text (.odt)
- OpenDocument Spreadsheet (.ods)
Spreadsheets
- Microsoft Excel (.xls, .xlsx)
- Comma-Separated Values (.csv)
Images
- PNG (.png)
- JPEG (.jpg, .jpeg)
Videos
- AVI (.avi)
- MP4 (.mp4)
Unsupported File Types
The following file formats are not compatible with our upload system:
- Data Interchange Format (.dif)
- Java Source Code (.java)
- JavaScript (.js)
- Python Script (.py)
Attempting to upload an unsupported file type will result in an error message. Please convert your file to one of the supported formats listed above before proceeding with your upload.

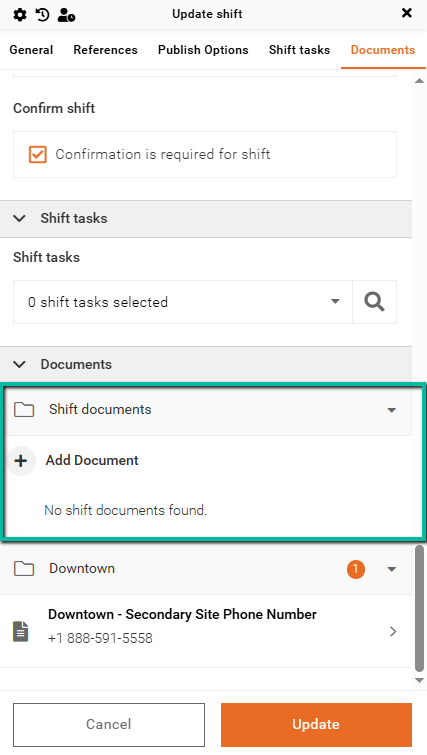
Site Documents in Shift Panel
The shift panel displays Documents relevant to your selected site. These associated Documents will automatically populate once you have selected both your Customer and Site.
Attach Documents to Shifts
If you need to include documents specific to individual shifts, you can attach documents directly to a shift. This is useful for one-off or unique requirements that go beyond standard site documents.
To learn how to do this, see our Attach Documents to Shifts article.